
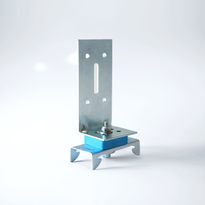
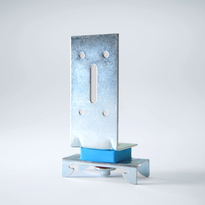
Similar Categories
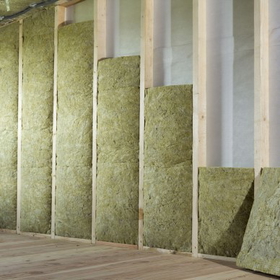
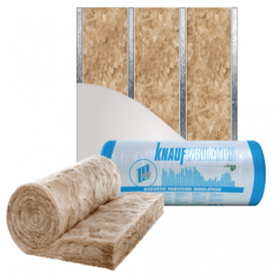
What Are Resilient Channels?
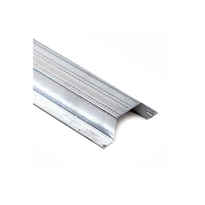
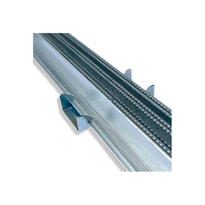
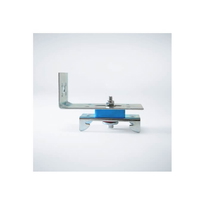
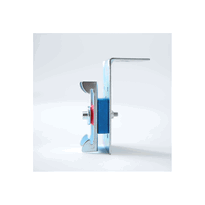
Resilient channels, also known as resilient bars, are an effective soundproofing solution designed to reduce sound transmission through walls and ceilings. These channels are used in soundproof walls and ceiling solutions to limit the transfer of sound waves by introducing a flexible attachment point that helps to separate gypsum or other soundproofing materials from the building’s structure.
How Do Resilient Bars Work?
When installing resilient channels, they act as a decoupling mechanism, preventing vibration and sound through walls and ceilings. Using a resilient channel without direct attachment to the ceiling joist or side of the wall is key to effectively reducing sound transmission.
Benefits of Using Resilient Channels
-
Reduces the amount of sound passing through partitions.
-
Designed to reduce vibration and airborne noise.
-
Improves STC (Sound Transmission Class) ratings.
-
Easy to install, making them ideal for contractors and DIY projects.
-
Works with soundproofing materials to enhance noise control.
Installation Method: How to Install Resilient Channels
Step 1: Prepare the Area
Ensure that the walls and ceilings are clear of obstructions and mark the spacing where the resilient bar will be placed.
Step 2: Secure the Channels
-
Position the resilient channels perpendicular to the framing members.
-
Attach the edge of the channel securely to the fur or framing using screws.
-
Important to note: The channel without proper spacing may not be effective.
Step 3: Installing the Gypsum Board
-
Attach the gypsum board directly to the resilient bar, ensuring correctly installed positioning.
-
Avoid fastening directly into the building’s structure, as this negates the soundproofing solution.
Step 4: Sealing Gaps
-
Use rubber or soundproofing materials to seal gaps around the ceiling solution.
-
Secure adjacent boards with two layers of drywall for additional sound reduction.
Applications of Resilient Channels
-
Soundproof walls for residential and commercial spaces.
-
Ceiling solutions to reduce noise from upper floors.
-
Perpendicular installations in theatres, studios, and conference rooms.
-
Category-leading STC-rated soundproofing solution for improved acoustics.
Why Choose Resilient Channels for Your Project?
-
RC-1 and hat channel variations available.
-
Helps ensure deluxe noise reduction performance.
-
Installed correctly, they significantly improve noise control.
-
Helps contractors and DIYers achieve effective soundproof walls.
-
Compliant with UK building regulations for sound reduction.
If you’re looking to dive into soundproofing, resilient bars are the best way to ensure someone gets the peace and quiet they need. Specify your resilient channel assembly today and contact us for expert advice