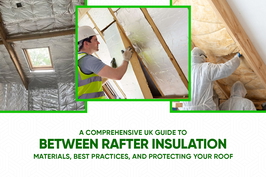


Benefits of Proper Rafter Insulation
Proper rafter insulation provides a range of practical advantages that greatly enhance the performance and value of a home. The primary benefit is improved energy efficiency, as well-insulated rafters help to minimise heat loss during the colder months and reduce heat gain during warmer periods. This results in lower energy bills and a more stable indoor temperature, contributing to greater comfort throughout the year. Enhanced energy efficiency also supports the use of renewable energy sources, such as solar power, by reducing overall energy consumption. In addition to cost savings, effective insulation supports environmental sustainability by lowering energy consumption and reducing the home’s carbon footprint. Well-insulated rafters also play a vital role in enhancing indoor air quality by acting as a barrier against external pollutants. Furthermore, they help prevent moisture accumulation within the roof structure, which lessens the risk of mould growth and potential structural damage. Soundproofing is another advantage of proper rafter insulation, as it diminishes external noise, creating a quieter and more peaceful living environment. Overall, investing in high-quality rafter insulation not only boosts property value but also extends the lifespan of the roof, providing durable and long-term protection against weather extremes and other environmental factors.
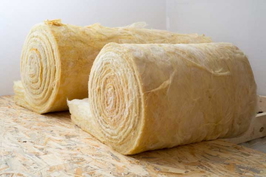
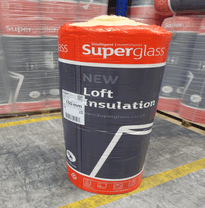
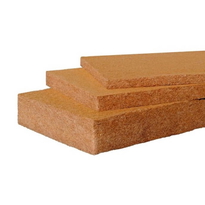
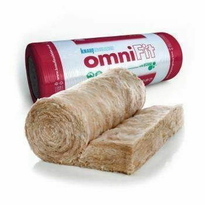
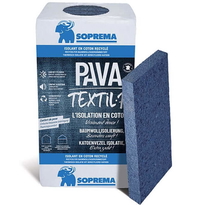
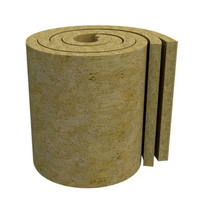
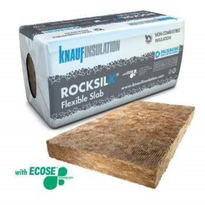
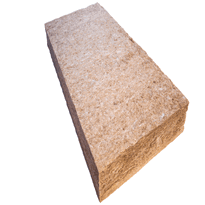
Choosing the Right Insulation Material for Your Loft
Choosing the Right Insulation Material for Your Loft
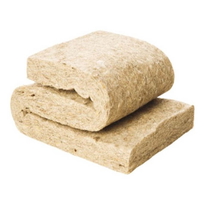
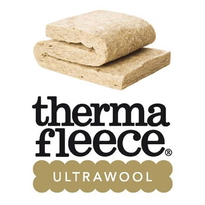
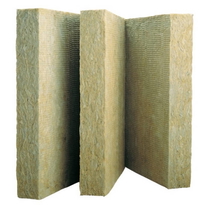
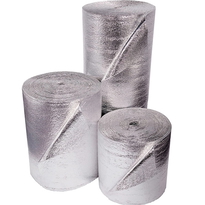
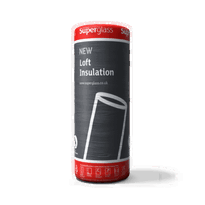
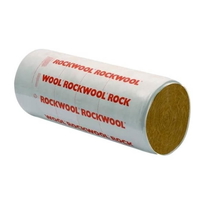
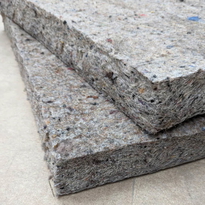
Selecting the appropriate insulation material for a loft involves assessing several important factors, including thermal performance, environmental impact, cost, and ease of installation. Ideally, the material should provide high R-value for effective insulation while being environmentally friendly and within your budget. Fibreglass insulation is a popular option due to its affordability and reasonable thermal resistance. However, it requires a sufficient thickness to achieve effective insulation because its thermal conductivity typically ranges from 0.022 to 0.027 W/m·K. This means more material is needed to reach desired U-values. Fibreglass insulation is widely used in DIY projects, making it accessible for homeowners. Sheep’s wool insulation offers high thermal performance, with thermal conductivity values around 0.035 to 0.038 W/m·K. Although it's generally more costly, it's a sustainable and natural option. An added benefit is that it is breathable and moisture-regulating. Mineral wool is another accessible choice, valued for its ease of installation and good thermal performance. It also provides excellent fire resistance and soundproofing qualities. These features make it a versatile option for loft insulation. Polyurethane foam, while less common in DIY applications, offers superior airtightness and thermal performance. It’s typically applied by professionals, either as rigid panels or spray foam. When installed correctly, it can significantly reduce heat loss. When choosing insulation, it’s essential to balance performance, sustainability, and budget. Ensuring the right material and installation method will help create a well-insulated, energy-efficient loft space that keeps your home warm and reduces energy costs.
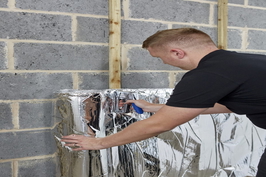
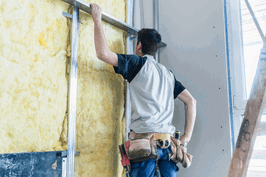
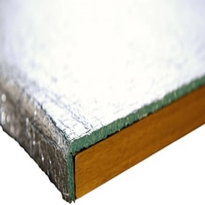
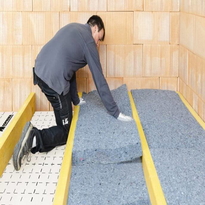
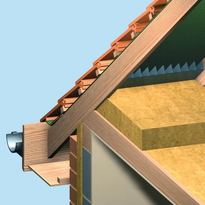
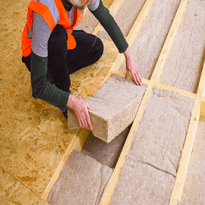
Step-by-Step Guide to Installing Rafter Insulation
Step-by-Step Guide to Installing Rafter Insulation
Before beginning the installation of rafter insulation, it's essential to thoroughly prepare the loft space. Start by inspecting for any leaks, damage, or signs of dampness, ensuring the area is dry and sound. It's also important to verify that ventilation pathways are clear and unobstructed to prevent moisture accumulation, which could lead to mould or structural issues. Proper ventilation is crucial to prevent condensation and maintain a healthy loft environment.
Next, carefully clear the loft of debris and obstructions. This will facilitate safe movement and enable accurate measurement and fitting of insulation materials.
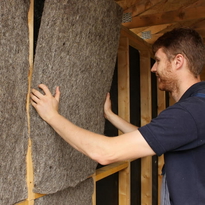
Once the space is prepared, measure each rafter cavity precisely, noting the length and width. Use these measurements to cut your insulation materials to fit snugly within each rafter bay, avoiding gaps that could reduce insulation effectiveness or create thermal bridges.
Before installing the insulation, fit rafter vents between the rafters where necessary. These vents promote adequate airflow and help maintain a balanced moisture level within the loft.
Position the cut insulation securely within the rafter bays, stapling or fixing it to the underside of the rafters. When installing, maintain a minimum ventilation gap of 50mm between the insulation and the roof lining or ceiling to allow for proper airflow and to prevent condensation.
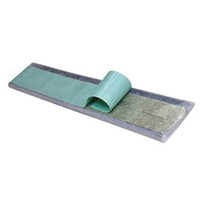
Finally, carefully inspect the entire area for any gaps, loose sections, or areas where the insulation may have shifted. Seal joints and edges with suitable tape or sealant to create an effective vapour barrier, which helps control moisture and improves the thermal performance of your insulation.
Taking these steps will help ensure your loft is well-insulated, dry, and ventilated, contributing to a more energy-efficient and comfortable home.
Conclusion
Properly insulating the rafters in your loft enhances thermal efficiency, reduces energy bills, and prevents heat loss. Selecting appropriate insulation materials based on their thermal conductivity (K-Value) and compatibility with installation requirements ensures effective coverage and long-lasting performance. Following a systematic installation process—taking precise measurements, carefully cutting insulation to fit, and securely positioning it—maximises insulation effectiveness. By adhering to these steps, you can achieve a well-insulated loft space, contributing to energy conservation, improved comfort, and sustained structural integrity over time.