- Blogs
- Avoiding the Pitfalls: A Homeowner's Guide to Common Loft Insulation Mistakes
Avoiding the Pitfalls: A Homeowner's Guide to Common Loft Insulation Mistakes


TLDR
Properly insulating a loft is one of the most effective ways to reduce home energy bills, but common mistakes can negate the benefits and cause serious damage. The most critical errors to avoid are: compressing insulation by placing storage boards directly on top of it (always use raised loft legs); failing to install the UK-recommended 270mm depth for materials like mineral wool; and blocking ventilation gaps at the eaves, which is essential to prevent condensation and timber rot. Before starting, always fix any existing damp or roof leaks. All water pipes and tanks in the now-colder loft must be lagged to prevent freezing. Electrical cables should be lifted to lie over the insulation, not buried beneath it, to avoid overheating. Finally, exercise extreme caution with spray foam insulation applied to the underside of the roof, as it can cause structural issues and make a property difficult to sell or remortgage.
Introduction
Correctly installed loft insulation is a highly effective measure for improving a home's energy efficiency, capable of preventing up to a quarter of a property's heat from escaping through the roof.1 However, what is often presented as a straightforward DIY task is fraught with potential for error. An improper installation does not just lead to disappointing energy savings; it can introduce a host of unintended consequences, from uncomfortable living conditions and wasted money to severe structural damage caused by moisture and mould.
This guide serves as a comprehensive overview of the most common mistakes made when insulating lofts in the UK. By understanding these frequent pitfalls—from inadequate preparation and incorrect material choice to critical application errors—homeowners can ensure their insulation project delivers on its promise of a warmer, more efficient home, without creating costly new problems. This report details the correct procedures and explains the technical reasons behind them, empowering homeowners to get the job right, whether undertaking the work themselves or supervising a contractor.
Section 1: Before You Begin: The Crucial Pre-Installation Checks Often Missed
The foundational errors in loft insulation often occur before a single roll of material is unfurled. Treating insulation as a simple blanket to be laid in a loft, without first assessing the health of the space, is a recipe for failure. The loft is a complex part of the building's structure, and any intervention must be preceded by a thorough inspection.
Conducting a Thorough Loft Health Check: Damp, Leaks, and Pests
The single most important preparatory step is to ensure the loft is completely dry and free from pests. Installing insulation into a loft with an existing moisture problem is a critical mistake. Before any work begins, a detailed inspection for signs of moisture—such as water stains on timbers, damp or mouldy patches on existing insulation or boards, or a persistent musty smell—is essential.
The source of any dampness must be identified and permanently fixed. This could be a result of leaks from damaged or missing roof tiles, or it could be a sign of a persistent condensation problem caused by poor ventilation. Simply covering up a damp problem with new insulation will trap the moisture, making the situation significantly worse. A newly insulated loft becomes a much colder space, which reduces the potential for any moisture to evaporate naturally. What might have been a minor, intermittent damp patch can quickly become a constant source of moisture, creating a perfect environment for mould growth and wood-rotting fungi that can attack the roof structure. The act of insulating, without first resolving the underlying issue, can accelerate a minor problem into a major threat to the building's structural integrity.
Alongside damp checks, the loft should be inspected for any signs of pest infestation, such as droppings, nests, or damaged materials. Rodents, birds, and insects can cause significant damage to insulation materials and create hygiene issues. Any infestation must be dealt with, and entry points should be sealed before new insulation is installed.
Assessing the Condition of Your Roof Timbers and Structure
Directly linked to the damp check is a physical inspection of the roof's timber structure. Before adding the weight of new insulation and potentially storage, it is vital to verify that the wooden framework, including joists and rafters, is strong and free from weakness or rot. Any timber that feels soft, appears discoloured, or crumbles when prodded is a red flag that requires investigation by a qualified professional. The roof structure must be in good condition and capable of supporting the additional load of insulation materials and any planned storage boarding. Adding weight to a compromised structure is extremely dangerous.
Identifying and Dealing with Old or Hazardous Insulation
Many older homes already have some form of loft insulation, but it may be inadequate, degraded, or even hazardous. Properties insulated between the 1930s and 1980s could have materials that contain asbestos, such as some forms of loose-fill vermiculite insulation. Other outdated materials, like Urea-Formaldehyde Foam Insulation (UFFI), can also present health risks.
If there is any suspicion that existing insulation could contain asbestos, it is imperative not to disturb it. Disturbing these materials can release microscopic fibres into the air, which are extremely dangerous if inhaled. The project must be halted, and a specialist contractor should be engaged to test the material and, if necessary, carry out a controlled removal. The presence of such materials fundamentally changes the nature of the project, moving it from a potential DIY job to one that requires certified professionals from the very beginning.
The Importance of Accurate Measurements
A surprisingly common and entirely avoidable mistake is the failure to take accurate measurements of the loft space. It is essential to calculate the total square meterage of the loft floor to ensure enough insulation is purchased to cover the entire area without gaps. Running out of material part-way through a job often leads to uncovered patches, which act as thermal bridges and undermine the effectiveness of the entire installation.
Equally important is measuring the depth of any existing insulation. If there is already a layer of insulation between the joists, its depth should be measured to determine how much new material is needed to "top up" to the current recommended standard of 270mm.
Section 2: The Seven Deadly Sins of "Cold Loft" Insulation 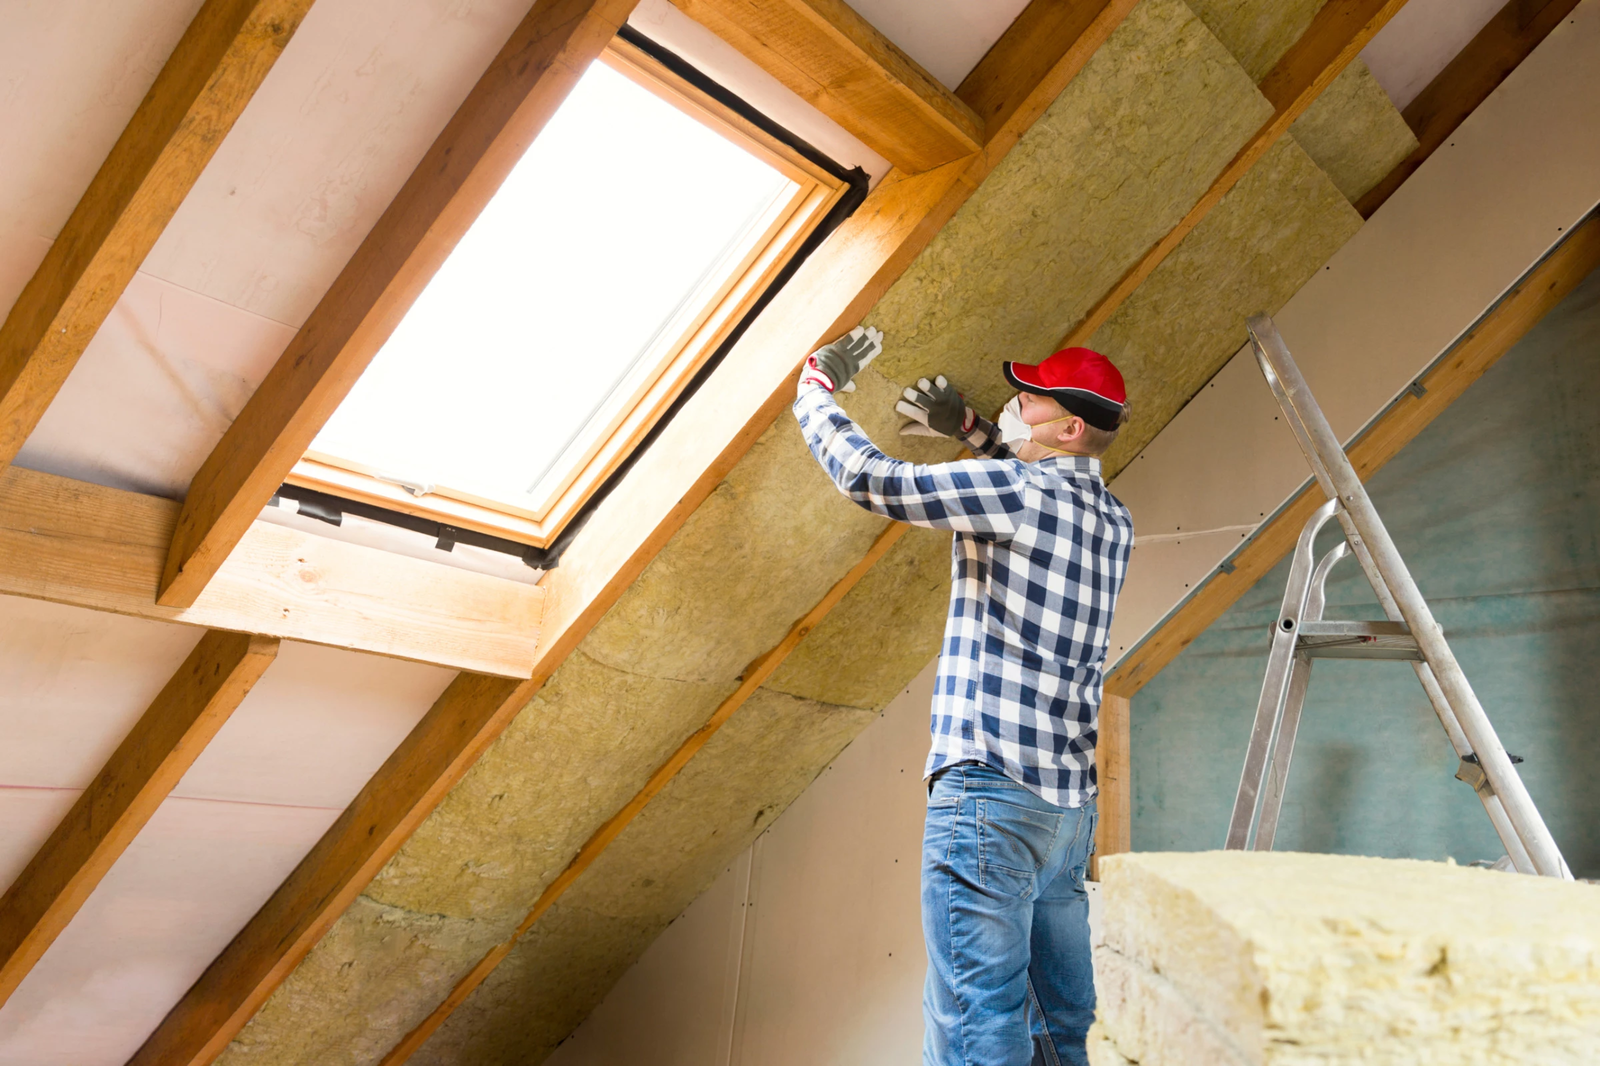
The most common method of insulating a loft in the UK is the "cold loft" approach, where insulation is laid at the level of the ceiling joists. This keeps the heat within the main living areas of the house, leaving the loft space itself unheated and cold. While effective and economical, this method is prone to a number of critical application errors.
Mistake 1: Not Using the Correct Thickness (The 270mm Standard)
The benchmark for thermal performance in a UK loft is a total insulation depth of 270mm for mineral wool products. This standard is based on current building regulations and government guidance. Many older properties, if they have any insulation at all, often have only a thin layer of 50mm or 100mm, which is no longer considered adequate. Some modern new-build properties are even being insulated to a depth of 300mm.
Failing to top up existing insulation to this 270mm standard means that significant heat loss will continue. A frequent and significant error is to simply roll insulation straight over the top of the joists, ignoring the gaps between them. This creates large, uninsulated voids and is highly inefficient. The correct installation method involves two distinct layers. The first layer, typically 100mm thick, must be cut to size and laid snugly between the joists, filling the space completely. A second, thicker layer of 170mm or 200mm is then laid at right angles (perpendicular) to the first, covering the joists as well as the initial layer. This cross-layering is crucial as it prevents "thermal bridging," where heat can escape through the timber joists themselves, which are less effective insulators than the surrounding material.
Mistake 2: Compressing the Insulation (The Most Common Efficiency Killer)
Perhaps the single most common and damaging mistake is compressing the insulation. Insulation materials like mineral wool work by trapping thousands of tiny pockets of still air within their fibrous structure. It is this trapped air that provides the resistance to heat flow. If the material is squashed, flattened, or compressed, these air pockets are forced out, and the insulation loses the majority of its thermal efficiency. Research from the National Physical Laboratory found that compressing loft insulation reduces its effectiveness by 50%. When 270mm-thick insulation is compressed to 100mm, its thermal resistance drops significantly from 6.11 m²·K/W to just 3.09 m²·K/W.
This error most frequently occurs when homeowners wish to use their loft for storage. A survey found that while 82% of households use their lofts for storage, only 26% knew that compressing insulation makes it less effective. After laying the insulation, they place storage boards directly on top of the ceiling joists, squashing the full 270mm depth of insulation down to the 100mm height of the joists. An installation compromised in this way will perform very poorly.
Beyond simply reducing thermal performance, this practice can create a more serious problem: interstitial condensation. Warm, moist air naturally rises from the living spaces below and passes through the ceiling. It then travels through the now-inefficient compressed insulation layer. When this warm, moist air reaches the cold underside of the loft storage boards, its temperature drops rapidly. As the air cools, it can no longer hold as much moisture, which is then released as condensation on the cold surface of the boards. This process effectively builds a condensation trap within the insulation layer, leading to dampness that further degrades the material's performance and can promote mould growth and rot in the timber joists.
The correct method for creating a storage area is to use a raised floor system. Purpose-built products known as "loft legs" or stilts are fixed to the joists, raising the level of the storage deck high enough to accommodate the full 270mm of insulation underneath without any compression.
Mistake 3: Leaving Gaps and Cold Spots
For loft insulation to be effective, it must form a complete, continuous blanket over the entire ceiling area. Gaps in coverage, no matter how small, will compromise the performance of the entire system. Heat will always follow the path of least resistance, and these uninsulated gaps act as thermal bridges, allowing warmth to escape.
Care must be taken to cut the insulation to fit snugly between joists and around any obstacles like pipes or structural timbers. Tricky corners and the areas around the loft hatch are common places where gaps are left. These gaps can lead to noticeable cold spots on the ceiling of the room below, which in turn can become focal points for condensation to form within the living space.
Mistake 4: Creating Hazards with Pipes, Tanks, and Electrics
Insulating the loft floor has a significant knock-on effect on the services within the loft space. Because heat from the house is no longer rising into the loft, the space becomes much colder, particularly in winter. This creates a serious risk of water pipes and cold water storage tanks freezing and bursting, which could cause catastrophic water damage.
To prevent this, all water pipes and tanks located within the cold loft space must be thoroughly insulated, or "lagged," with appropriate pipe insulation and tank jackets. A common error is to place insulation underneath a water storage tank. This should be avoided; the tank benefits from the small amount of residual heat rising from the ceiling below to help prevent freezing.
Electrical safety is another critical consideration. Electrical cables should not be completely buried under thick layers of insulation, as this can cause them to overheat, creating a fire risk. The correct procedure is to ensure cables are not under tension, gently lift them out of the way while the insulation is laid, and then place them loosely on top of the final layer.
Recessed downlights that protrude from the ceiling into the loft space pose a significant fire hazard if covered directly with insulation. The heat generated by the bulb can build up and ignite the insulation material. To prevent this, fire-rated downlight protectors or covers must be installed over each light fitting before the insulation is laid around them.
Mistake 5: Neglecting the Loft Hatch
A common oversight is to perfectly insulate the entire loft floor while completely ignoring the loft hatch. An uninsulated, draughty loft hatch acts as a large hole in the thermal barrier, allowing a significant amount of heat to escape into the cold loft and creating cold draughts in the landing or room below.
The loft hatch should be treated with the same importance as the rest of the floor. A section of insulation, equivalent to the 270mm depth of the main area, should be securely fixed to the top of the hatch. This can be done by attaching a plastic bag filled with insulation or by fixing rigid insulation board to the hatch. Care must be taken to ensure the added insulation does not interfere with any ladders or hinges. Additionally, self-adhesive draught-excluding strips should be fitted around the frame of the hatch to create an airtight seal when it is closed.
Buy Loft Insulation


Mistake 6: Blocking Ventilation at the Eaves (A Critical Error)
One of the most serious and frequent mistakes in a DIY loft insulation project is blocking the ventilation path at the eaves (the low point where the roof meets the walls). It is common for installers to push the insulation rolls tightly into the corners of the loft, but this obstructs the flow of air that is essential for a healthy roof space.
This airflow, typically entering through vents in the soffit boards under the eaves, is the primary mechanism for removing the inevitable warm, moist air that finds its way into the loft from the house below. If this ventilation is blocked, the moisture-laden air becomes trapped. In the cold loft environment, this moisture will condense on cold surfaces, leading to dampness, mould, and eventually the rot and decay of the roof timbers.
To prevent this, a clear and continuous air gap must be maintained between the top of the insulation and the underside of the roofing felt at the eaves. A gap of at least 25mm to 50mm is recommended. Professional installers use purpose-made ventilation baffles or rafter trays, which are simple plastic or cardboard shields fitted between the rafters to hold the insulation back and guarantee that the air path remains open.
Mistake 7: Incorrectly Boarding for Storage
This mistake combines the issues of compression with potential structural overload. As established, placing boards directly onto the joists is incorrect because it compresses the insulation. The correct solution for homeowners who need to use their loft for storage is to install a raised flooring system.
This involves fixing loft legs or stilts onto the existing joists to create a new, elevated framework. Storage boards are then fixed to this raised frame, leaving a sufficient gap below for the full 270mm of insulation to sit uncompressed. It is also important for homeowners to be mindful of how much weight they intend to store. The ceiling joists in many homes, especially older ones, were not designed to support heavy loads, and overloading them can pose a structural risk.
Section 3: A Deeper Look at Ventilation: Why Your Loft Must Breathe 
The topic of ventilation is so critical to the success and safety of a loft insulation project that it warrants a more detailed examination. Getting this wrong can transform a well-intentioned energy-saving measure into a direct cause of structural decay.
Understanding Condensation Risk in a Newly Insulated Loft
The fundamental principle to grasp is that warm air can hold more water vapour than cold air. Throughout the day, normal household activities like cooking, washing, and even breathing release litres of water vapour into the air inside a home. This warm, moist air is buoyant and will find its way into the loft space through tiny gaps in ceilings and around light fittings.
In an uninsulated loft, the heat escaping from the house keeps the loft space relatively warm. This warmth allows the air in the loft to continue holding onto its moisture, which is then gradually vented to the outside. However, when insulation is installed on the loft floor, this heat supply is cut off. The loft becomes a cold space, often only slightly warmer than the outside air.
When the warm, moist air from the house now enters this cold loft, it comes into contact with cold surfaces, such as the underside of the roof felt or the timber rafters. The air is rapidly cooled, and as its temperature drops, it is forced to release its moisture in the form of condensation—just like when breath mists up on a cold window pane. Without adequate ventilation to remove this damp air, the condensation will persist, leading to dampness, mould, and the potential for timber rot. The type of roofing material can also play a part; older, non-breathable bituminous felts require a greater degree of ventilation than modern breathable membranes to manage this risk.
How to Ensure a Clear Air Path
Effective loft ventilation relies on creating a clear, continuous path for air to travel through the space. In most UK homes, this is achieved through a passive system where cooler, drier air is drawn in at the lowest point of the roof (the eaves) and warmer, moister air is expelled at a higher point, such as through ridge vents or tile vents.
The most common point of failure is the blockage of the intake vents at the eaves by insulation. As detailed previously, insulation must be kept back from this area to allow air to enter the loft freely. The use of rafter trays is the most reliable way to achieve this, as they create a permanent, protected channel for airflow that cannot be accidentally blocked. Homeowners or installers should visually check from inside the loft to ensure they can see daylight through the eaves vents, confirming the air path is clear.
Section 4: Choosing the Right Material (And Avoiding the Wrong One)
The UK market offers a wide range of insulation materials, and selecting the right one for a specific property and application is key to a successful project. Conversely, choosing the wrong material—or falling for persuasive marketing for an inappropriate one—can lead to significant problems.
An Overview of Common UK Insulation Materials
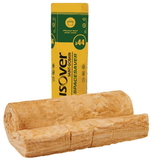
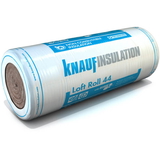
While many options exist, a few key types dominate the UK residential market for loft insulation. The most common and cost-effective choice is glass mineral wool (often called fibreglass), which is typically supplied in rolls and is easy for a competent DIYer to install. Other popular choices include:
-
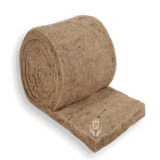
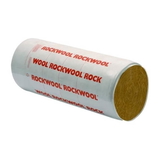
Rock Mineral Wool: Similar to glass wool but made from volcanic rock, it often has slightly better fire resistance and acoustic (sound-insulating) properties.
-
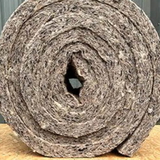
Sheep's Wool: A natural and sustainable option that is breathable and excellent at managing moisture, making it a good choice for older properties that may be prone to damp. It is, however, more expensive than mineral wool.
-
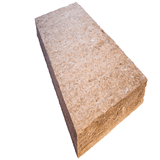
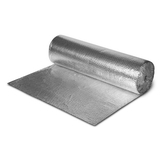
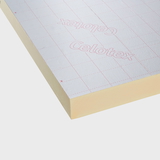
Rigid Insulation Boards (PIR/Phenolic): These foam boards offer high thermal performance for their thickness. They are often used in "warm loft" installations between rafters or to insulate the top of a loft hatch.
-
Loose-fill Insulation: Materials like cellulose (recycled newspaper) or mineral wool granules can be blown or poured into place. This makes them ideal for topping up existing insulation or for insulating lofts with irregular joists or difficult access.
Table: Quick Comparison of Common UK Loft Insulation Materials
The following table provides a summary of the main insulation types to help guide selection.
| Material Type | Common Form | Key Advantages | Key Disadvantages | Best Suited For | |
| Glass Mineral Wool | Rolls | Inexpensive, widely available, easy to install (DIY), good thermal performance. | Can cause skin/respiratory irritation during installation; performance reduced if it gets wet. | Standard "cold loft" floor insulation in most property types. | |
| Rock Mineral Wool | Rolls or Slabs | Excellent fire resistance, good acoustic insulation, good thermal performance. | Can cause skin irritation; slightly more expensive than glass wool. | Lofts where fire resistance or sound reduction is a priority. | |
| Sheep's Wool | Rolls or Batts | Natural and sustainable, breathable (helps manage moisture), non-irritant to handle. | More expensive, lower thermal performance per inch than mineral wools. | Older, traditional properties; homeowners prioritising natural materials. | |
| Rigid PIR/Phenolic Boards | Boards |
|
Expensive, requires precise cutting to fit, not breathable. | "Warm loft" rafter insulation; insulating loft hatches and vertical walls. | |
| Loose-fill (Cellulose/Mineral) | Blown or Poured | Excellent for topping up and filling awkward/irregular gaps, often made from recycled materials. | Can be messy, may settle over time, can be disturbed by air movement. | Topping up existing insulation; lofts with difficult access or irregular joists. | |
| Spray Foam | Sprayed Liquid | Creates an airtight seal, good for complex shapes. | Significant risks (see warning below), requires professional installation, expensive. | Specialist applications only, with extreme caution and independent advice. |
A Special Warning: The Risks of Spray Foam Insulation
Spray foam insulation, particularly the closed-cell type applied directly to the underside of roof tiles or felt, is heavily marketed as a modern, high-performance solution. However, its use in retrofitting UK lofts is associated with severe risks that homeowners must be aware of.
When installed incorrectly, or in an inappropriate roof structure, spray foam can completely seal the loft space. This prevents essential ventilation and traps moisture, which can lead to the condensation and timber decay that all other insulation methods seek to avoid. The rigid nature of closed-cell foam can also place stress on the roof structure.
The most significant issue, however, is financial. The foam completely covers the roof timbers, making it impossible for a building surveyor to inspect their condition. Without being able to assess the risk of hidden rot or defects, many UK mortgage lenders are unwilling to offer a mortgage on a property with this type of insulation installed. This can make the house extremely difficult to sell or remortgage, effectively trapping the homeowner with a devalued and illiquid asset. The process of removing spray foam is also exceptionally difficult, messy, and expensive.
This situation highlights a fundamental conflict. A product installed to improve a home's thermal performance can inadvertently destroy its financial viability in the property market. Because surveyors cannot see the structure, lenders cannot quantify their risk, and they default to a position of refusal. Homeowners considering spray foam should seek independent, expert advice from a chartered surveyor who is not associated with the installer before proceeding.
Section 5: Warm Loft or Cold Loft? Defining Your Project's Goal 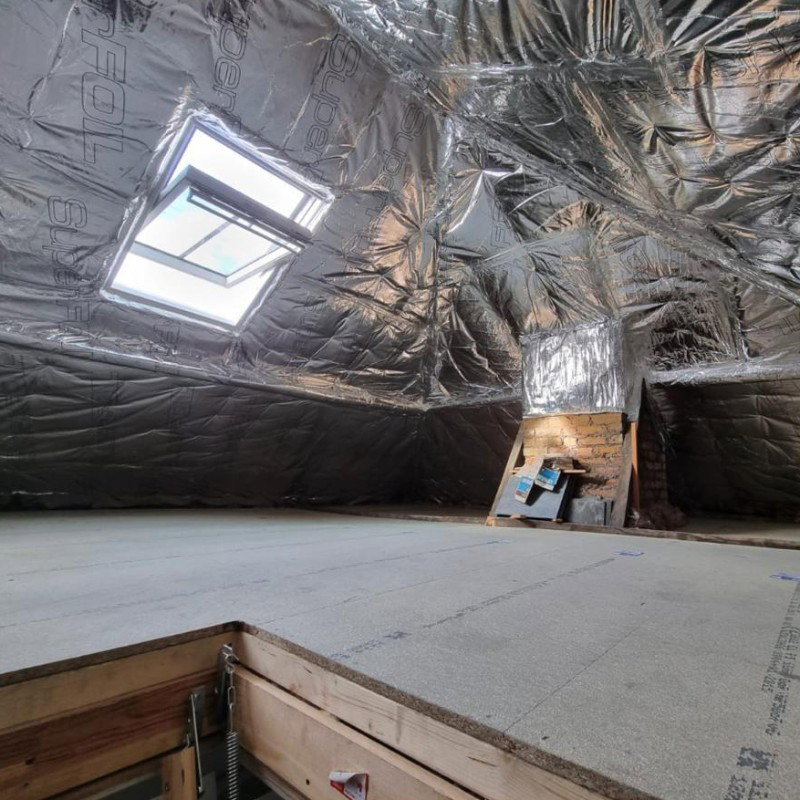
Before any work starts, a fundamental decision must be made: will the project create a "warm loft" or a "cold loft"? This choice defines where the building's thermal boundary will be and dictates the entire insulation strategy, from materials to installation methods.
The "Cold Loft" Approach: Insulating the Floor
This is the standard, most common, and most cost-effective approach for UK homes. The insulation is placed on the floor of the loft, between and over the joists. This method effectively insulates the main house, keeping the heat in the living spaces below. The loft space itself remains outside this thermal envelope and becomes a cold, unheated area.
This approach is the correct choice if the loft will only be used for storing items that are not sensitive to temperature extremes (as the loft can get very hot in summer and freeze in winter). Nearly all the common mistakes detailed in Section 2 of this guide relate to errors made during a "cold loft" installation.
The "Warm Loft" Approach: Insulating the Rafters
If the intention is to use the loft as a habitable room (e.g., an office or bedroom) or for storing temperature-sensitive items, a "warm loft" is required. In this method, the insulation is fitted along the line of the roof itself, typically between and sometimes over the rafters. This makes the loft an integral, warm part of the house's conditioned space.
This is a significantly more complex and expensive undertaking than a cold loft installation. Rigid insulation boards are often used, and they must be cut precisely to fit. It is also vital to ensure that a ventilation gap is maintained between the insulation and the roofing membrane to prevent moisture build-up, unless a specific breathable system is being used. Furthermore, to create a complete thermal envelope, any gable-end walls or party walls within the loft space must also be insulated; failing to do so will create a massive path for heat to escape, defeating the purpose of the exercise.
Why You Must Choose One Method and Do It Properly
It is crucial to commit to one approach and execute it correctly. A common mistake is a hybrid, ill-conceived attempt that fails to achieve the benefits of either method. For example, insulating the rafters to create a warm loft but leaving the floor heavily insulated serves no purpose and can potentially trap moisture if not designed as part of a specific building system.
The homeowner is deciding where the boundary between the warm "inside" and the cold "outside" of their home will be. This thermal line must be continuous and complete. The choice is binary: either the boundary is the ceiling of the top floor (a cold loft), or it is the roofline itself (a warm loft). Pick one, and insulate that boundary completely and correctly.
Conclusion
Loft insulation remains one of the most valuable energy-efficiency upgrades a homeowner can make. When done correctly, it delivers significant savings on energy bills and a more comfortable living environment. However, as this guide has detailed, the potential for error is substantial, and the consequences of a poor installation can range from wasted investment to severe structural damage.
The key principles for success are clear. Preparation is paramount: the loft must be dry, structurally sound, and free of pests before any work begins. The installation itself must adhere to established best practices: the full recommended depth of 270mm must be achieved; the insulation must never be compressed; and a complete, gap-free thermal blanket must be created.
Above all, the critical role of ventilation must be respected. The airflow at the eaves is the lungs of the roof space, and blocking it is a catastrophic error that will lead to condensation and decay. All services within the loft, from pipes and tanks to electrical wiring, must be managed safely to mitigate the risks created by the new, colder environment.
By understanding these common pitfalls, homeowners are better equipped to undertake a DIY project with confidence or to ask the right questions when hiring a professional. A properly insulated loft is a significant asset to any home, but only when the job is done right.
Legal Disclaimer
The information provided in this article is for general guidance and informational purposes only. It does not constitute professional, legal, or technical advice, and should not be relied upon as such. The content is not intended to be a substitute for consultation with a suitably qualified professional, such as a chartered surveyor, structural engineer, or certified insulation installer.
Before undertaking any building work, specifying materials, or making decisions based on the content of this article, you should seek independent professional advice tailored to your specific circumstances. Building regulations and standards are subject to change and can vary by location. It is the responsibility of the user to ensure compliance with all relevant local and national regulations.
The author and publisher accept no responsibility or liability for any loss, damage, or injury—direct or consequential—arising from the use of, or reliance on, the information contained within this article. All works are undertaken at the user's own risk.

Samuel Hitch
Managing Director
Buy Insulation Online.
Leave A Reply
Your feedback is greatly appreciated, please comment on our content below. Your email address will not be published. Required fields are marked *