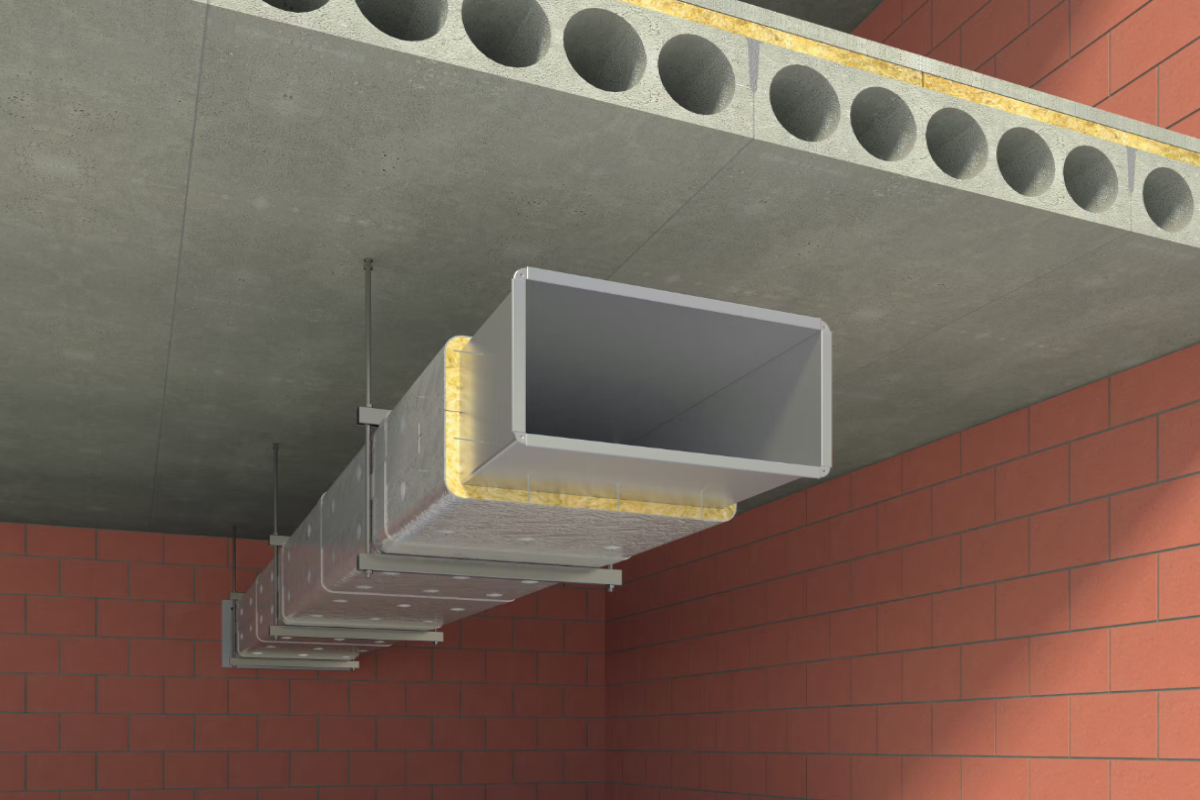


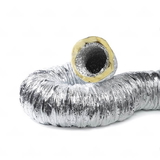
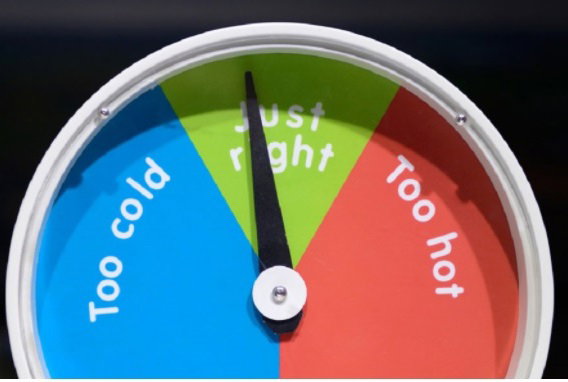
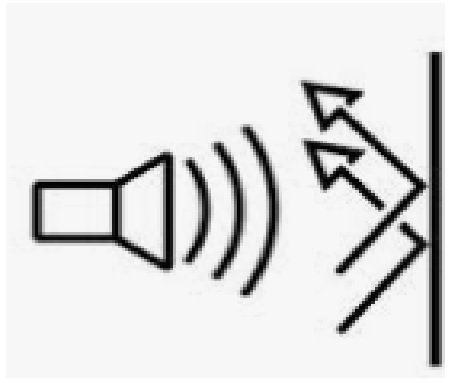
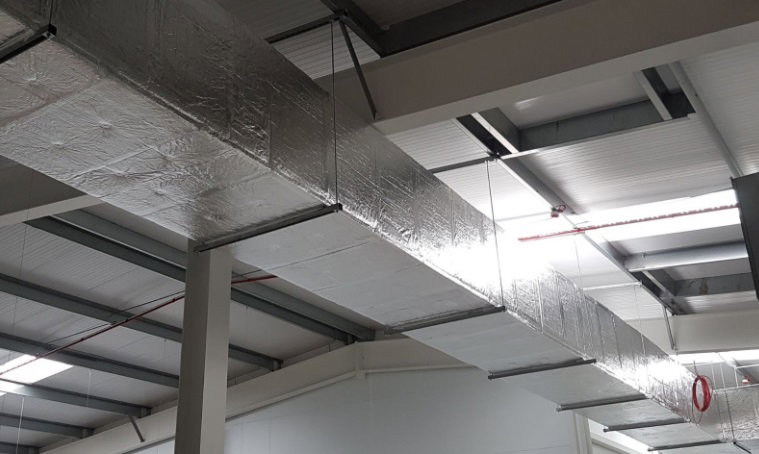
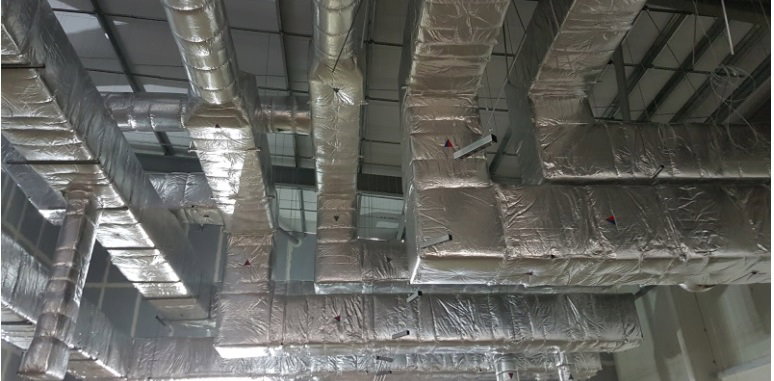
 Properly installed and maintained ductwork has three main benefits:
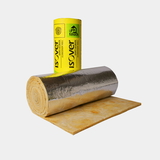
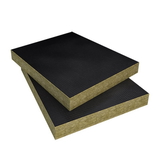
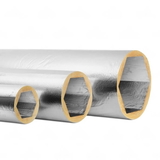
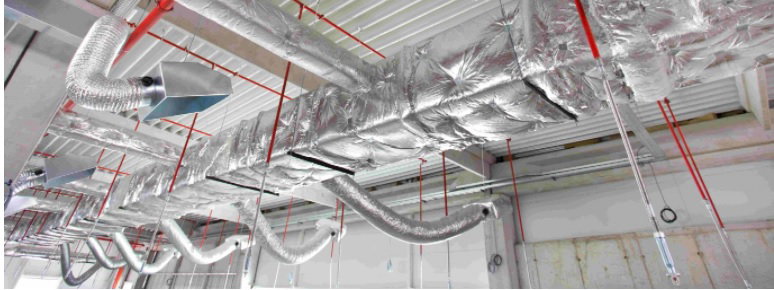
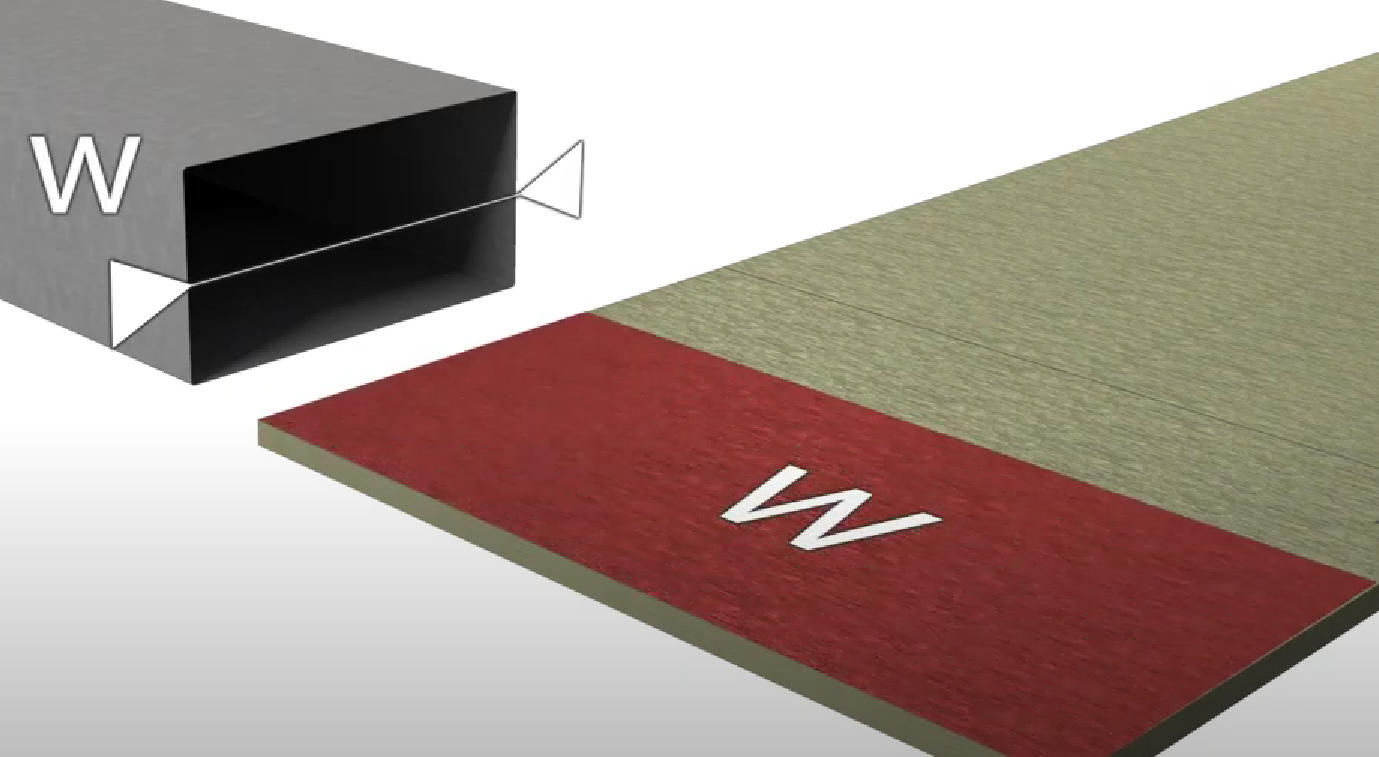
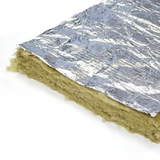
 Kingspan phenolic foam duct board


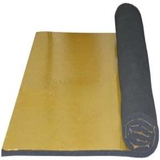
 basically


Shop by Brands
Shop by Application
Insulation For Garage
Shop By Material
Structural Insulation
Wall Insulation
Pipe | Duct Insulation
Foam Pipe Insulation
Pipe Lagging
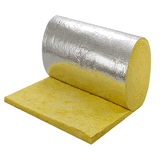
Duct Insulation
Insulation Tapes & Adhesives
Pipe & Duct Insulation Accessories
Acoustic Pipe Insulation
Condensate Pipe Insulation
Duct |Pipe Cladding
Insulation External Cladding
Isogenopak Insulation Cladding
Duct & Pipe Insulation Cladding Accessories
Valve Jackets Insulation
Valve Insulation Jackets
Flange Jacket Insulation
Plant and Equipment Insulated Covers
Building Materials
Insulation Materials - Brands
Metal Building Supplies
Building Adhesives & Tools
HVAC Materials
Plumbing Materials